
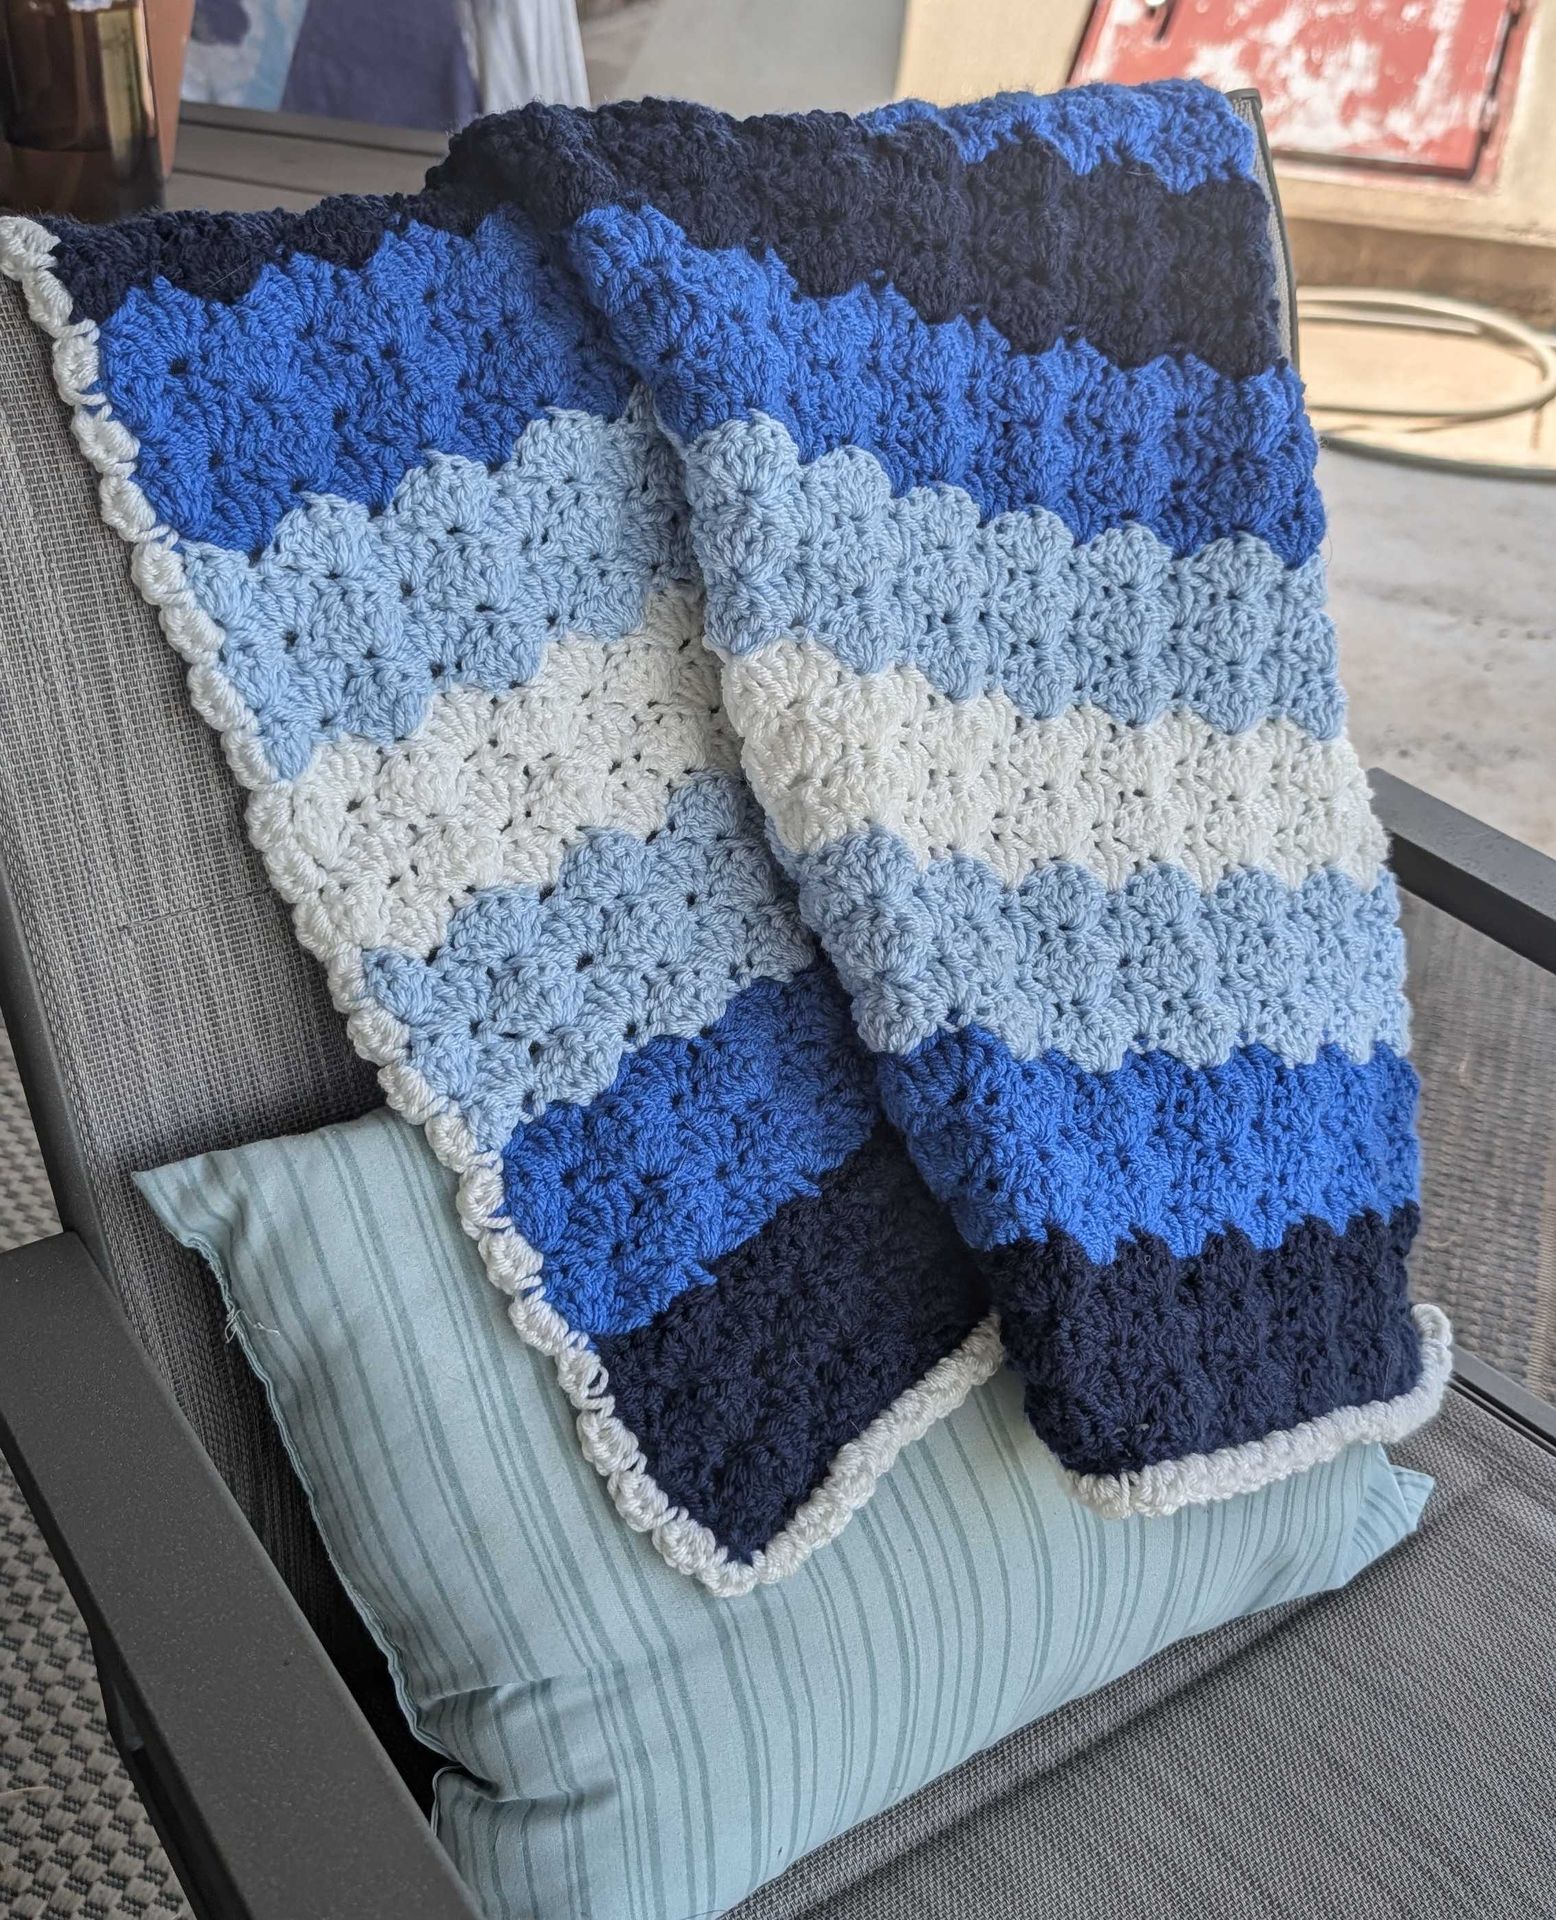
This was the second blanket I have ever made, and I love how it turned out. This blanket uses a stitch called the shell stitch, because it forms a shell shape! If this is your first blanket or your tenth, this pattern is for everyone. Let's dive right into it!
Pattern
Materials
- Hook size 6.0mm
Size 4 Yarn Crafter's Secret Big Idea in the following colours:
White: Colour #01/White
Light Blue: Colour #70/Soft Blue
Blue: Colour #67/Cobalt Blue
Dark Blue: Colour #90/Old Navy
Needle (with a bigger eye than standard)
Abbreviations
- ch - chain
- sc - single crochet
- dc - double crochet
- slst - slip stitch
- hdc - half double crochet
Other Notes
- This blanket ends up as 28''x48''
- If you want a wider blanket, you'll need to increase your starting chain by exactly 6 chains. To make it longer, just add more rows! To make sure your starting chain is the appropriate length, it should be a multiple of 6 plus 2.
- Feel free to use whatever colours you would like for it, if that's multiple colours like I have used or one single colour throughout. You can experiment a lot with this blanket since it's one stitch throughout.
- You can also change the border pretty easily if you don't like the border I chose to use and you know of a different border pattern that you prefer.
- Colour swapping: Starting from the first row of shells, each colour is 5 shell rows long before I swapped to a different colour. I used the colours in order of: dark blue, blue, light blue, white, light blue, blue, then repeated from the start using dark. I highly recommend you cut each yarn colour thread when you're done using it, then weaving the ends into the appropriate colour.
- While this is a baby blanket, and a baby blanket is technically
Pattern Body
- ch 104.
- Starting from the second chain from the hook, sc 103
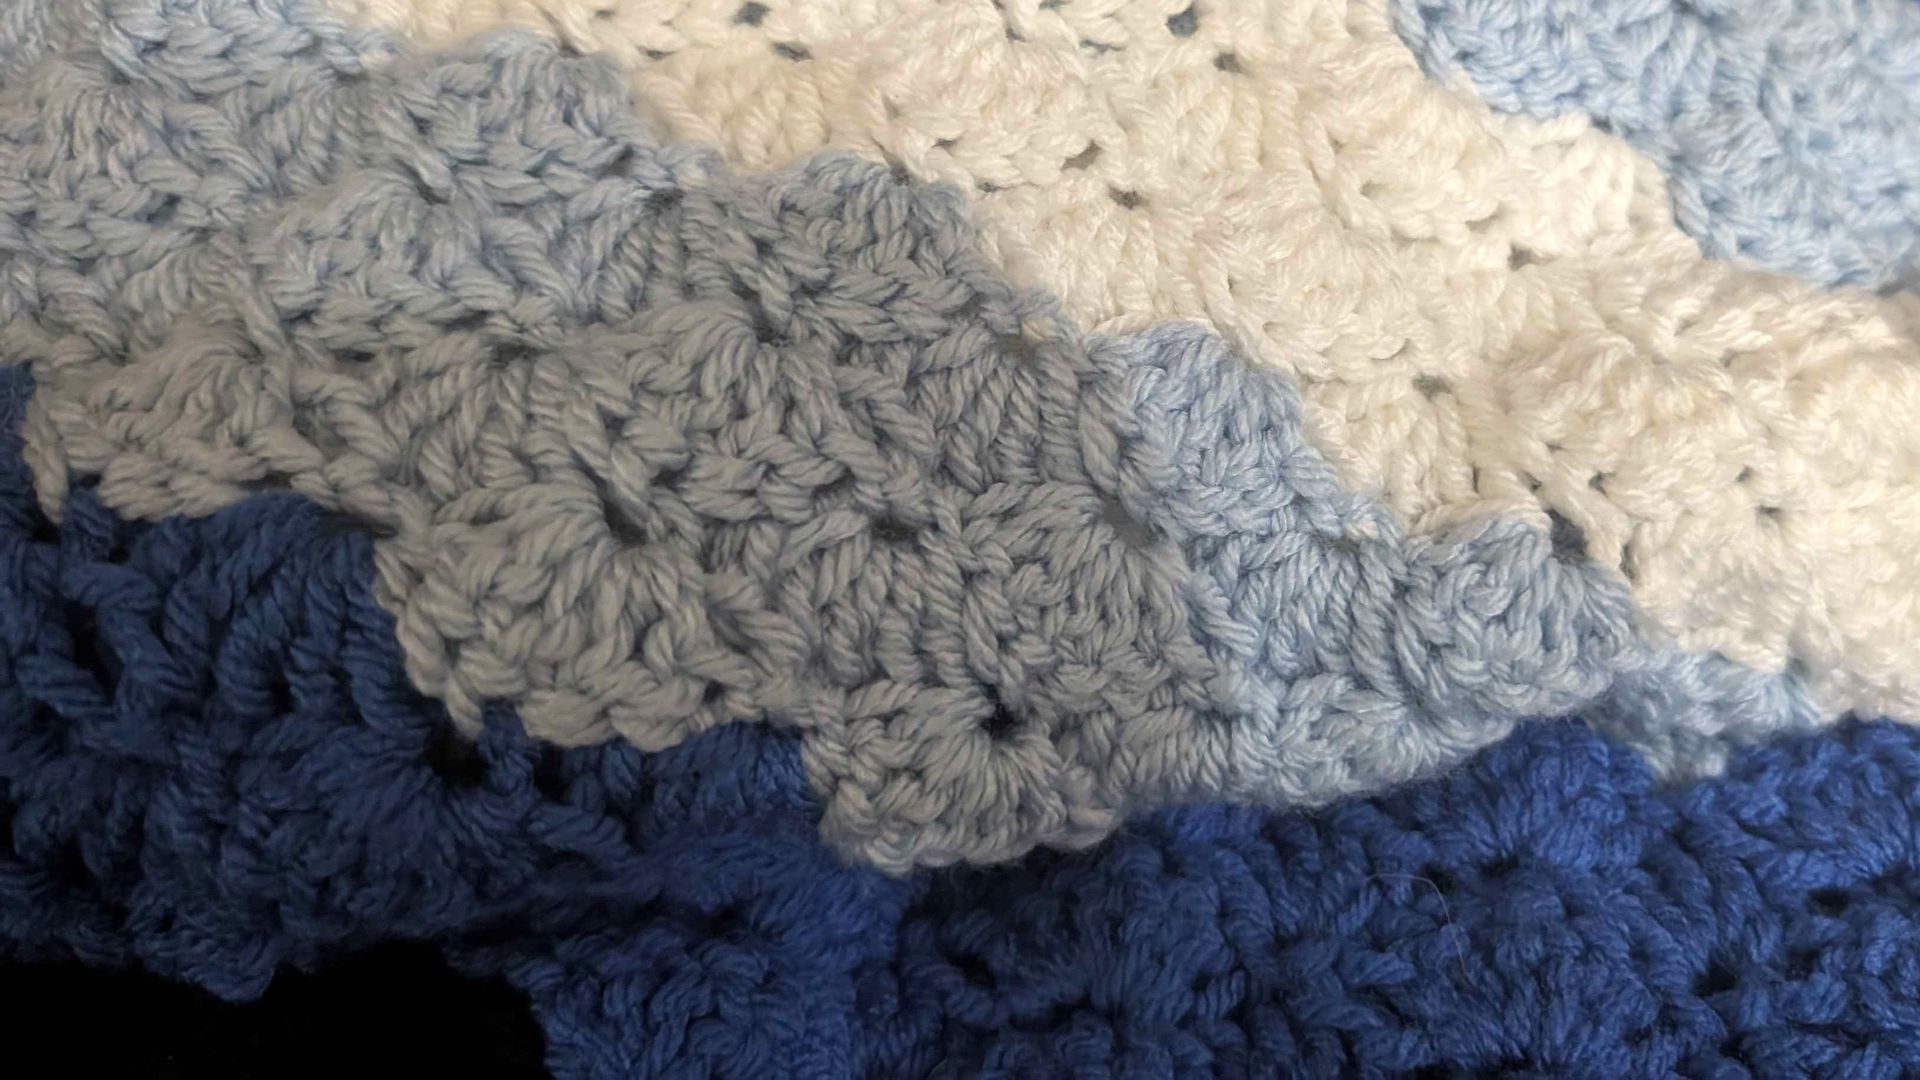
- ch 1, turn. sc, * skip 2, dc 5 in one stitch, skip 2, sc * repeat between the two * to the end of the row.
- ch 2, turn. dc 3 in the next stitch, * skip 2, sc, skip 2, dc 5 in one stitch, skip 2, sc * repeat between the two * to the end of the row. When you reach the final sc and there's not enough room for the next full shell, skip 2 and dc 3 in the last stitch instead of dc 5.
- Repeat rows 3 and 4 until you're happy with the length of your blanket. Following the 5 rows of changing colours, you should finish with 95 rows of shells.
- Final row: *dc, hdc2, sc, hdc2* repeat between the two * to the end of the row. dc in the last stitch.
Swap colours after 5 rows of shells!
Pattern Edge
Keeping with the shell pattern, start off with a slip knot, then chain 1. Repeat (hdc3 in 1 stitch, then slst all the way around the edge of the blanket in white. I prefer a long tail at the initial slip knot, as this allows you to make sure the end tail can be securely woven in.
TIP! I highly recommend looking at your edge every so often to make sure that you're actually using slst instead of sc, as the slst with the hdc creates that beautiful dip inbetween the minishells that we're looking for, while sc makes it much less obvious.
You can block the blanket when you're done if you're concerned about the edge not matching up perfectly with the rest of it.
Final Thoughts
And that's it! This blanket is super easy and not only teaches you about the shell stitch, but you end up with a super cute blanket too.
If you have any issues, feel free to reach out to us on our social media or leave a comment below! Have fun crocheters!